如何使用Hugo+Github搭建一个博客
0x00 配置Hugo环境
本文记录是在macOS的环境下安装的全过程,Windows和Linux用户可以去参考官方的详细文档:https://gohugo.io/getting-started/installing/
安装Homebrew
ruby -e "$(curl -fsSL https://raw.githubusercontent.com/Homebrew/install/master/install)"安装hugo
brew install hugo执行版本查询命令可以看到版本证明已安装成功
➜ ~ hugo versionhugo v0.82.0+extended darwin/amd64 BuildDate=unknown创建网站目录
可以在任意目录或者用户目录下载执行以下命令生成一个基本的hugo结构:
hugo new site blogcd blog可以看到blog目录下的文件列表:
├── archetypes 使用Hugo New命令创建Hugo中的新文件会按照里面的模版生成│ └── default.md├── config.toml 博客的配置文件├── content 存放文章的位置├── data├── layouts 模版文件├── static 静态文件└── theme 主题文件输入hugo help 我们可以看到很多命令,但是我们现在只需要用到的一小部分命令足以:
new 创建新的博客网站结构server 本地运行博客 -t, --theme strings 使用制定的主题生成public文件到这里我们的hugo文件部署就完毕了。
0x01 安装主题
如果直接运行hugo server是没有任何内容的,需要先安装一套主题。
下载主题文件
我们可以到官方的主题库里面选一个你喜欢的风格作为自己博客的主题:https://themes.gohugo.io/
比如我们选一个 https://themes.gohugo.io/themes/hugo-theme-meme/
点击Download按钮就会跳转到GitHub项目主页,我们先进入我们的博客目录和输入以下命令:
~ $ cd blog~/blog $ git init~/blog $ git submodule add --depth 1 https://github.com/reuixiy/hugo-theme-meme.git themes/meme配置主题
-
将
config.toml替换为示例配置。Terminal window ~/blog $ rm config.toml && cp themes/meme/config-examples/zh-cn/config.toml config.toml -
新建一篇文章和一个关于页面:
Terminal window ~/blog $ hugo new "posts/hello-world.md"~/blog $ hugo new "about/_index.md" -
现在:
Terminal window ~/blog $ hugo server -D
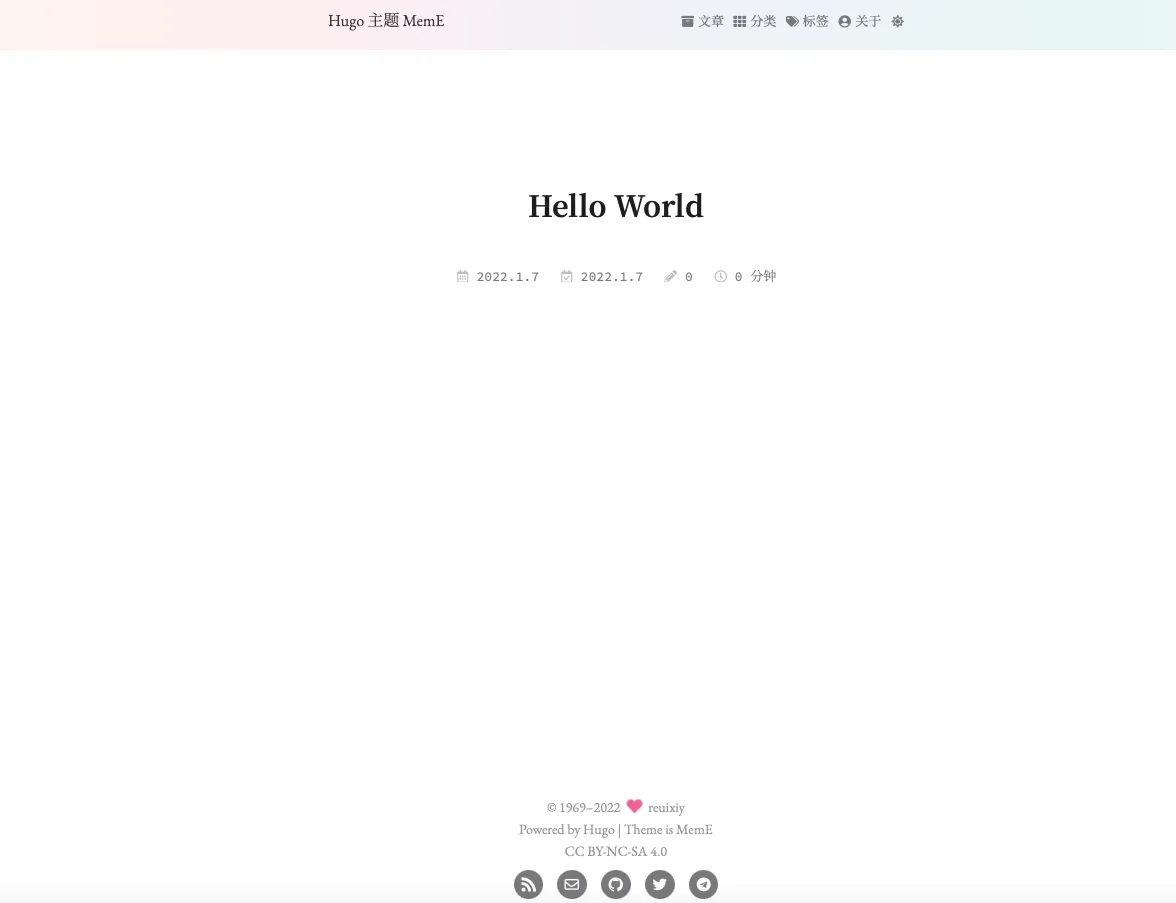
运行后打开地址:http://localhost:1313/
如果看到一个正常的网页,恭喜你已经成功配置完毕了~
0x02 部署Github Pages
这一步我也遇到了挺多的问题的,不过相对于hexo上会麻烦一点,但是hugo的编译速度是真的块。
下面的内容是copy了慕课的一篇文章,做了删减:https://m.imooc.com/wiki/github-pages
GitHub Pages 介绍
在使用之前,我们先了解一下 GitHub Pages 是什么以及我们为什么要使用它。
GitHub Pages 是什么
GitHub Pages 是 GitHub 提供给用户用来展示个人或者项目主页的静态网页系统。也就是说我们可以把项目代码写好后上传 GitHub,然后利用 GitHub Pages 为这个项目生成一个静态页面,别人通过网址可以访问我们的页面。
GitHub Pages 优点
那么使用 GitHub Pages 有哪些优点呢?我认为:
- 免费,不需要再购买云服务,就可以搭建个人网站;
- 简单,步骤简单,只需要按着教程一步步来,无需关注技术细节;
- 功能多,生态链丰富,你可以绑定自己域名,使用免费 https,还能使用现成的主题,插件等;
- 省心,只需要负责搭建,不需要关心如何维护之类的。
所以推荐大家使用一下,作为免费的服务,当然也有一些限制,在使用的时候项目和网站的大小不要超过 1 GB,每个月的带宽使用上限为 100 GB。不过一般情况下,我们也不会超过这些限制,影响不大。
GitHub Pages 使用
大致了解了 GitHub Pages 之后,现在让我带着大家来使用它。
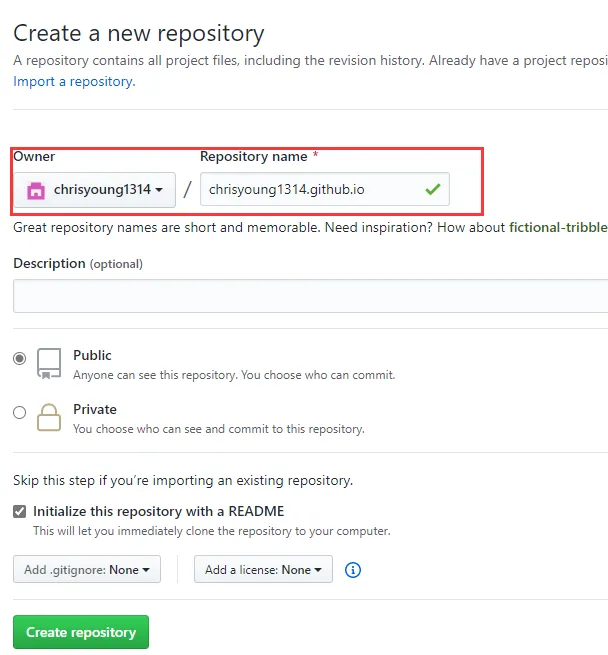
创建仓库
创建代码仓库的步骤跟之前一样,但是要注意的是,这里起名很有讲究,格式是http://username.github.io,其中 username 是你 GitHub 的用户名,这个名字不能出错,如果出错,则需要删除仓库重新来。
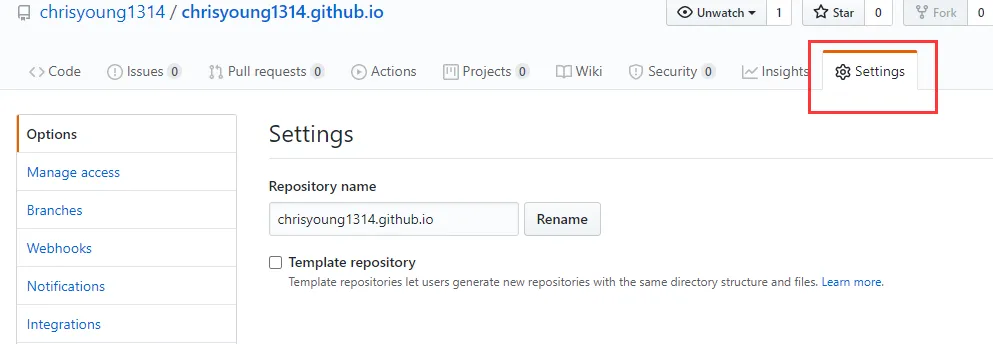
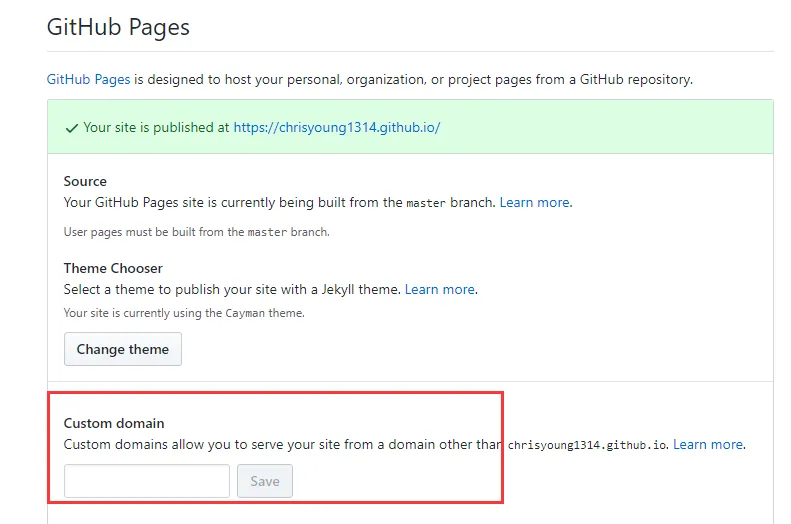
自定义域名
创建完仓库后,进入设置模块:
如果你觉得默认的域名不好记忆,也可以在这里自定义成你觉得好记的域名,完成之后访问新的域名验证是否成功即可。
小结
通过本节,我们学会了如何搭建 GitHub Pages。
0x03 将Hugo部署Github Pages
GitHub推送的身份验证机制
因为在2021年8月份github不再通过验证密码方式push代码,需要使用personal access token个人访问令牌。
如果上面还是看不懂,可以百度or谷歌下~
部署过程
完成上面的身份验证机制后,我们进入我们的blog目录执行以下命令,因为我上面用的主题是meme,所以-t后面跟着就是meme这个主题名称
hugo -t meme执行完会在该目录下生成一个public目录,该目录就是要上传到GitHub上面的。
我们在进入public进行操作:
cd publicgit add . #将public下的所以文件添加到需要上传的队列git commit -m "first commit" #提交更改并注释,当中的first commit 可以随意更改git push -f origin master #推送文件到GitHub上面执行完,等几分钟后再打开xxx.github.io会看到部署的网站内容,完成这一步整个过程就完毕了~
Github推送脚本
在blog目录下新建脚本文件deploy.sh:
#!/bin/bash# Program:#   发布Hugo生成文件到GitHub Pages# History:# 2020.05.05 GeekWho First release.# If a command fails then the deploy stopsset -e
printf "\033[0;32mDeploying updates to GitHub...\033[0m\n"
# Build the project.Hugo -t meme # 这里的meme改成你的主题名称
# Go To Public foldercd public
# Add changes to git.git add .
# Commit changes.msg="pubDate on $(date +'%Y-%m-%d %H:%M:%S')"if [ -n "$*" ]; then    msg="$*"figit commit -m "$msg"
git pull --rebase origin master# Push source and build repos.git push -f origin master
Github推送相关的错误
- Please make sure you have the correct access rights and the repository exists.
查看远程库是否存在:
git remote -v如果没有内容执行,记得把后面的换成你的ssh地址
git remote add origin git@github.com:xxx/xxxx.github.io.git- Untracked files
这个折腾了很久,提示了很多
nothing added to commit but untracked files present (use "git add" to track)Everything up-to-datefatal: 'coding' does not appear to be a git repositoryfatal: Could not read from remote repository.尝试使用clean命令来清理都不能成功
git clean -fdxn后来执行了以下内容解决了,在blog目录:
rm -rf publicrm -rf .githugo -t memecd publicgit initgit remote add origin git@github.com:xxxx/xxx.github.io.gitgit add .git commit -m "first commit"git push -u origin master- error: failed to push some refs to ‘github.com:xxx/xxx.github.io.git
这个是本地跟远程库内容版本不一致导致的
git pull --rebase origin mastergit push -u origin master- ! [rejected] master -> master (fetch first)
确保你本地的内容是要全新上传的,执行下面的命令:
rm -rf publicrm -rf .githugo -t memecd publicgit initgit remote add origin git@github.com:xxxx/xxx.github.io.gitgit add .git commit -m "first commit"git push -u origin master --force